Having a new baby is one of the best, most wonderful, (and exhausting) seasons of your life! I remember when my little ones were born (before I was a photographer) and I wanted to capture every little detail and moment. Cell phones and basic DSLR cameras make it so much easier than it used to be. I want to teach you how to take newborn photos at home safely.
While I firmly believe that everyone should hire a newborn photographer to capture their baby because their quality and expertise cannot be compared, I do believe there are some beautiful moments and memories you can capture of your baby at home!
 My disclaimer –
I strongly discourage anyone from trying to imitate images with poses that a Newborn Photographer would capture. Keep it simple. Newborn Photography is one of the most difficult areas of the industry to specialize in. I trained and studied for years to become a safe and capable photographer in the area of newborn photography. I have recently seen a newborn roll over on his own and a newborn crawl back 8 inches. Babies are squirmy, insanely strong, can jerk fast, and move out of positions at lightning speed! I have heard stories of babies who suddenly propelled themselves out of baskets or bowls that weren’t wrapped.
There are many images that you see on my website that are composite images. They are made up of 2-3 images together to remove the assistant’s hands out of the picture. For example, in the froggy position (chin on hands) a baby is never holding their heads up by themselves.. Their heads are too heavy for them to do that. Another example is the baby hanging from a branch…I promise that I would never hang baby from a branch! That is the combination of three images and baby stays safely on a surface. Safety always comes first for me and I pay attention to the coloring of baby’s skin and limbs, breathing, sounds, and all the little things that I know to watch to make sure she/he is safe.
Now that I’ve said the hard stuff, we can get to the fun stuff!
Here are a few tips to prepare the time to make baby more cooperative…
- Always feed baby first. Happy babies are full babies!
- Warm up the room if you plan on taking off baby’s clothes, you will want to warm up the room to around 78 degrees. Baby will be much happier warm.
- Keep baby up for a little bit before you feed them. They will more than likely fall asleep after being fed and stay asleep if they had some wake time before that.
There are so many fun things you can do at home with your little one…
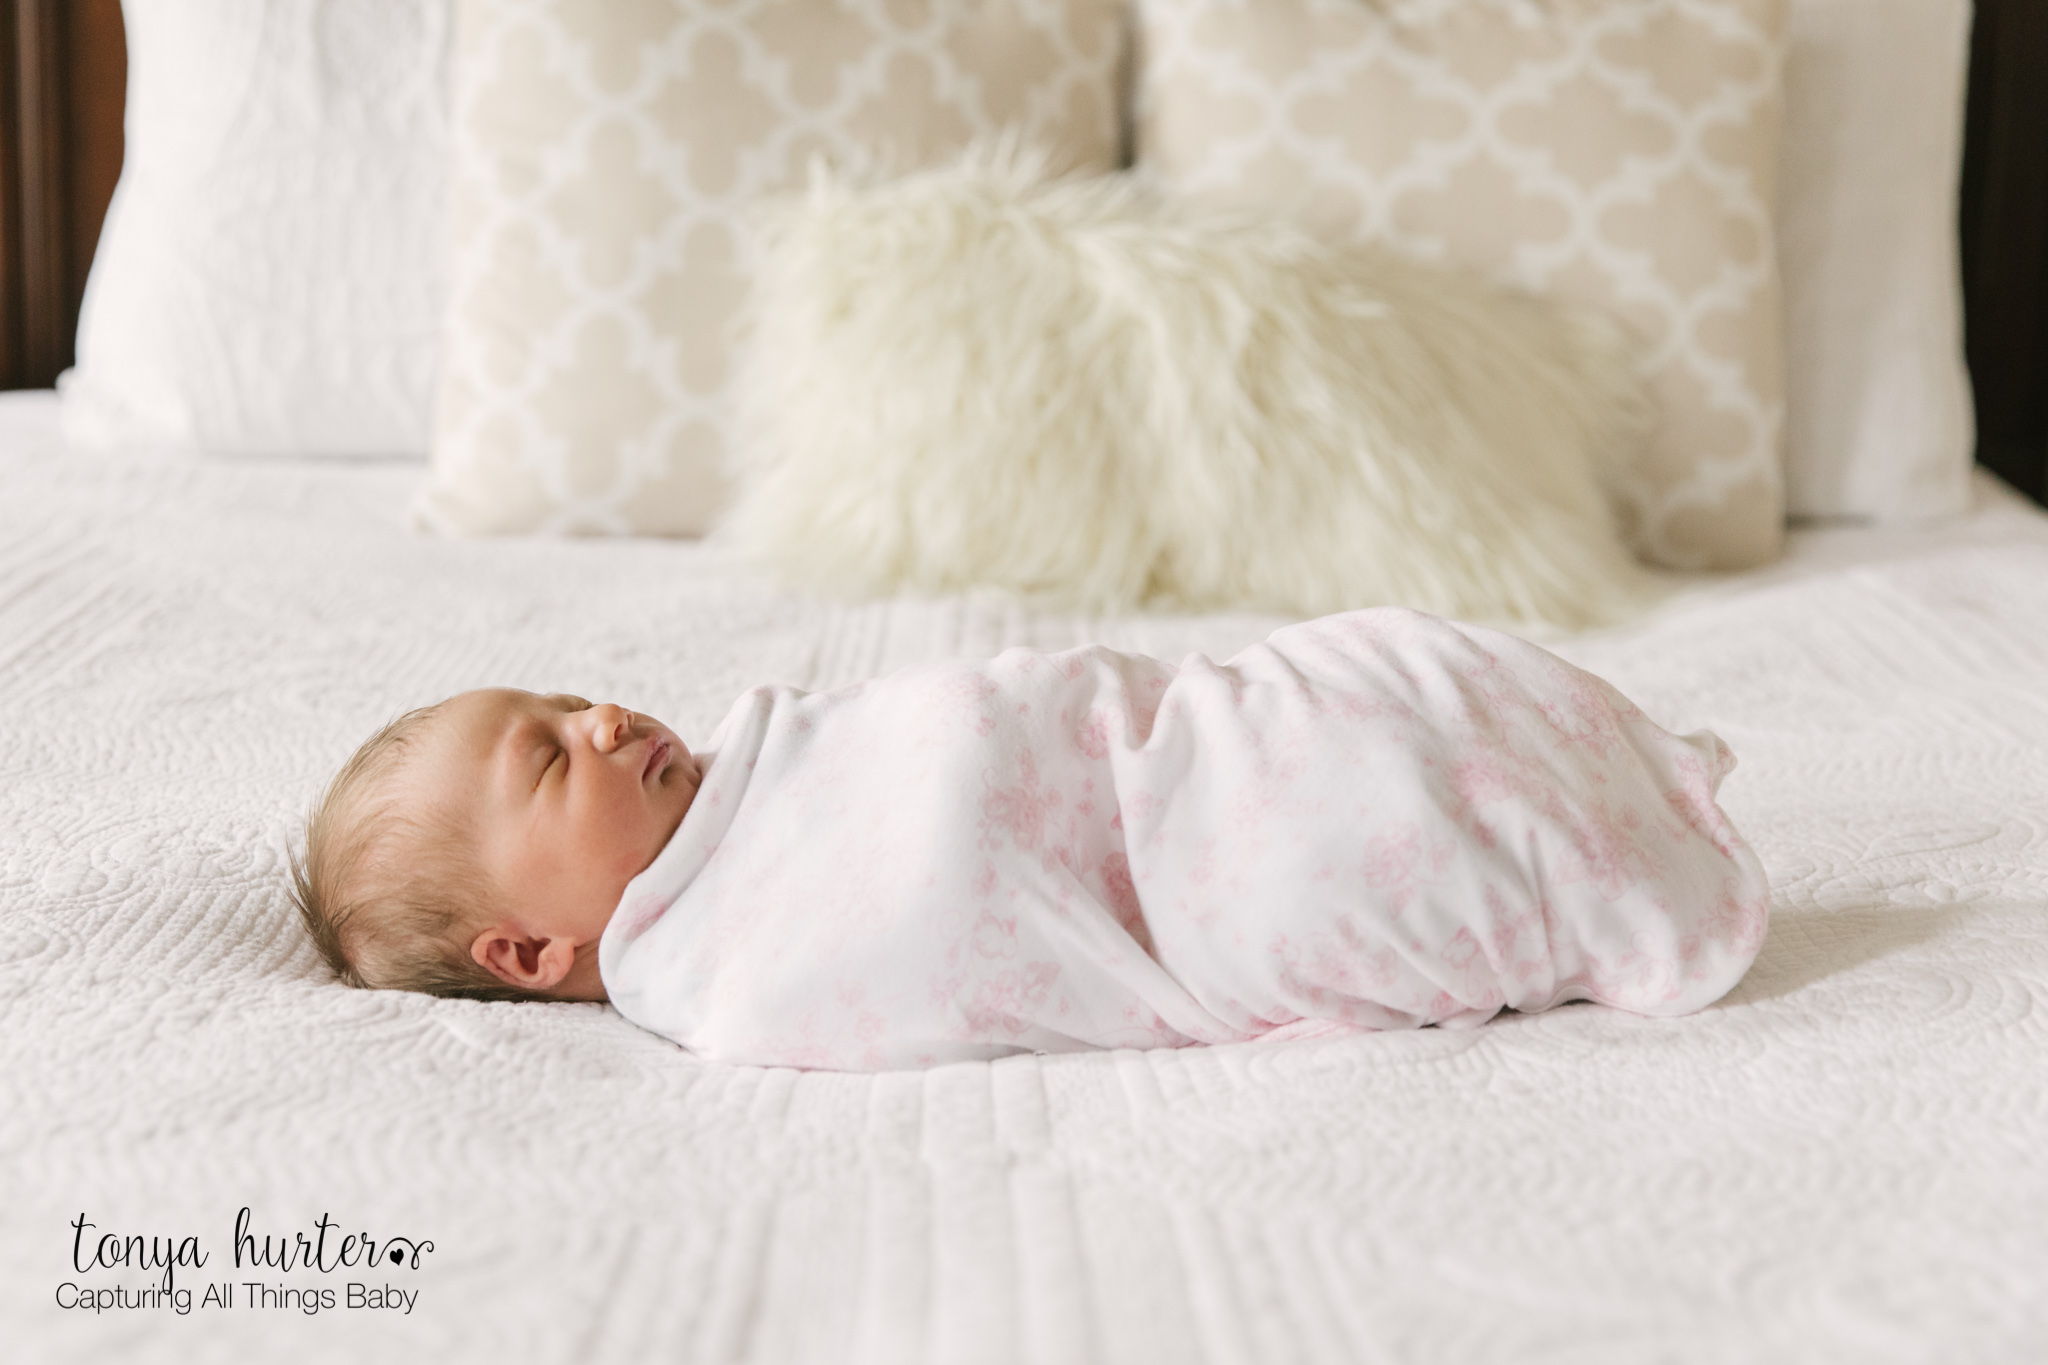
- Use swaddle wraps. Wrap baby up like a little burrito in your favorite swaddle wrap and lay them in the center of your bed, baby’s crib. Use soft surfaces not hard floors. Here’s a link to some of my favorite Aden & Anais swaddle wraps with pretty designs!
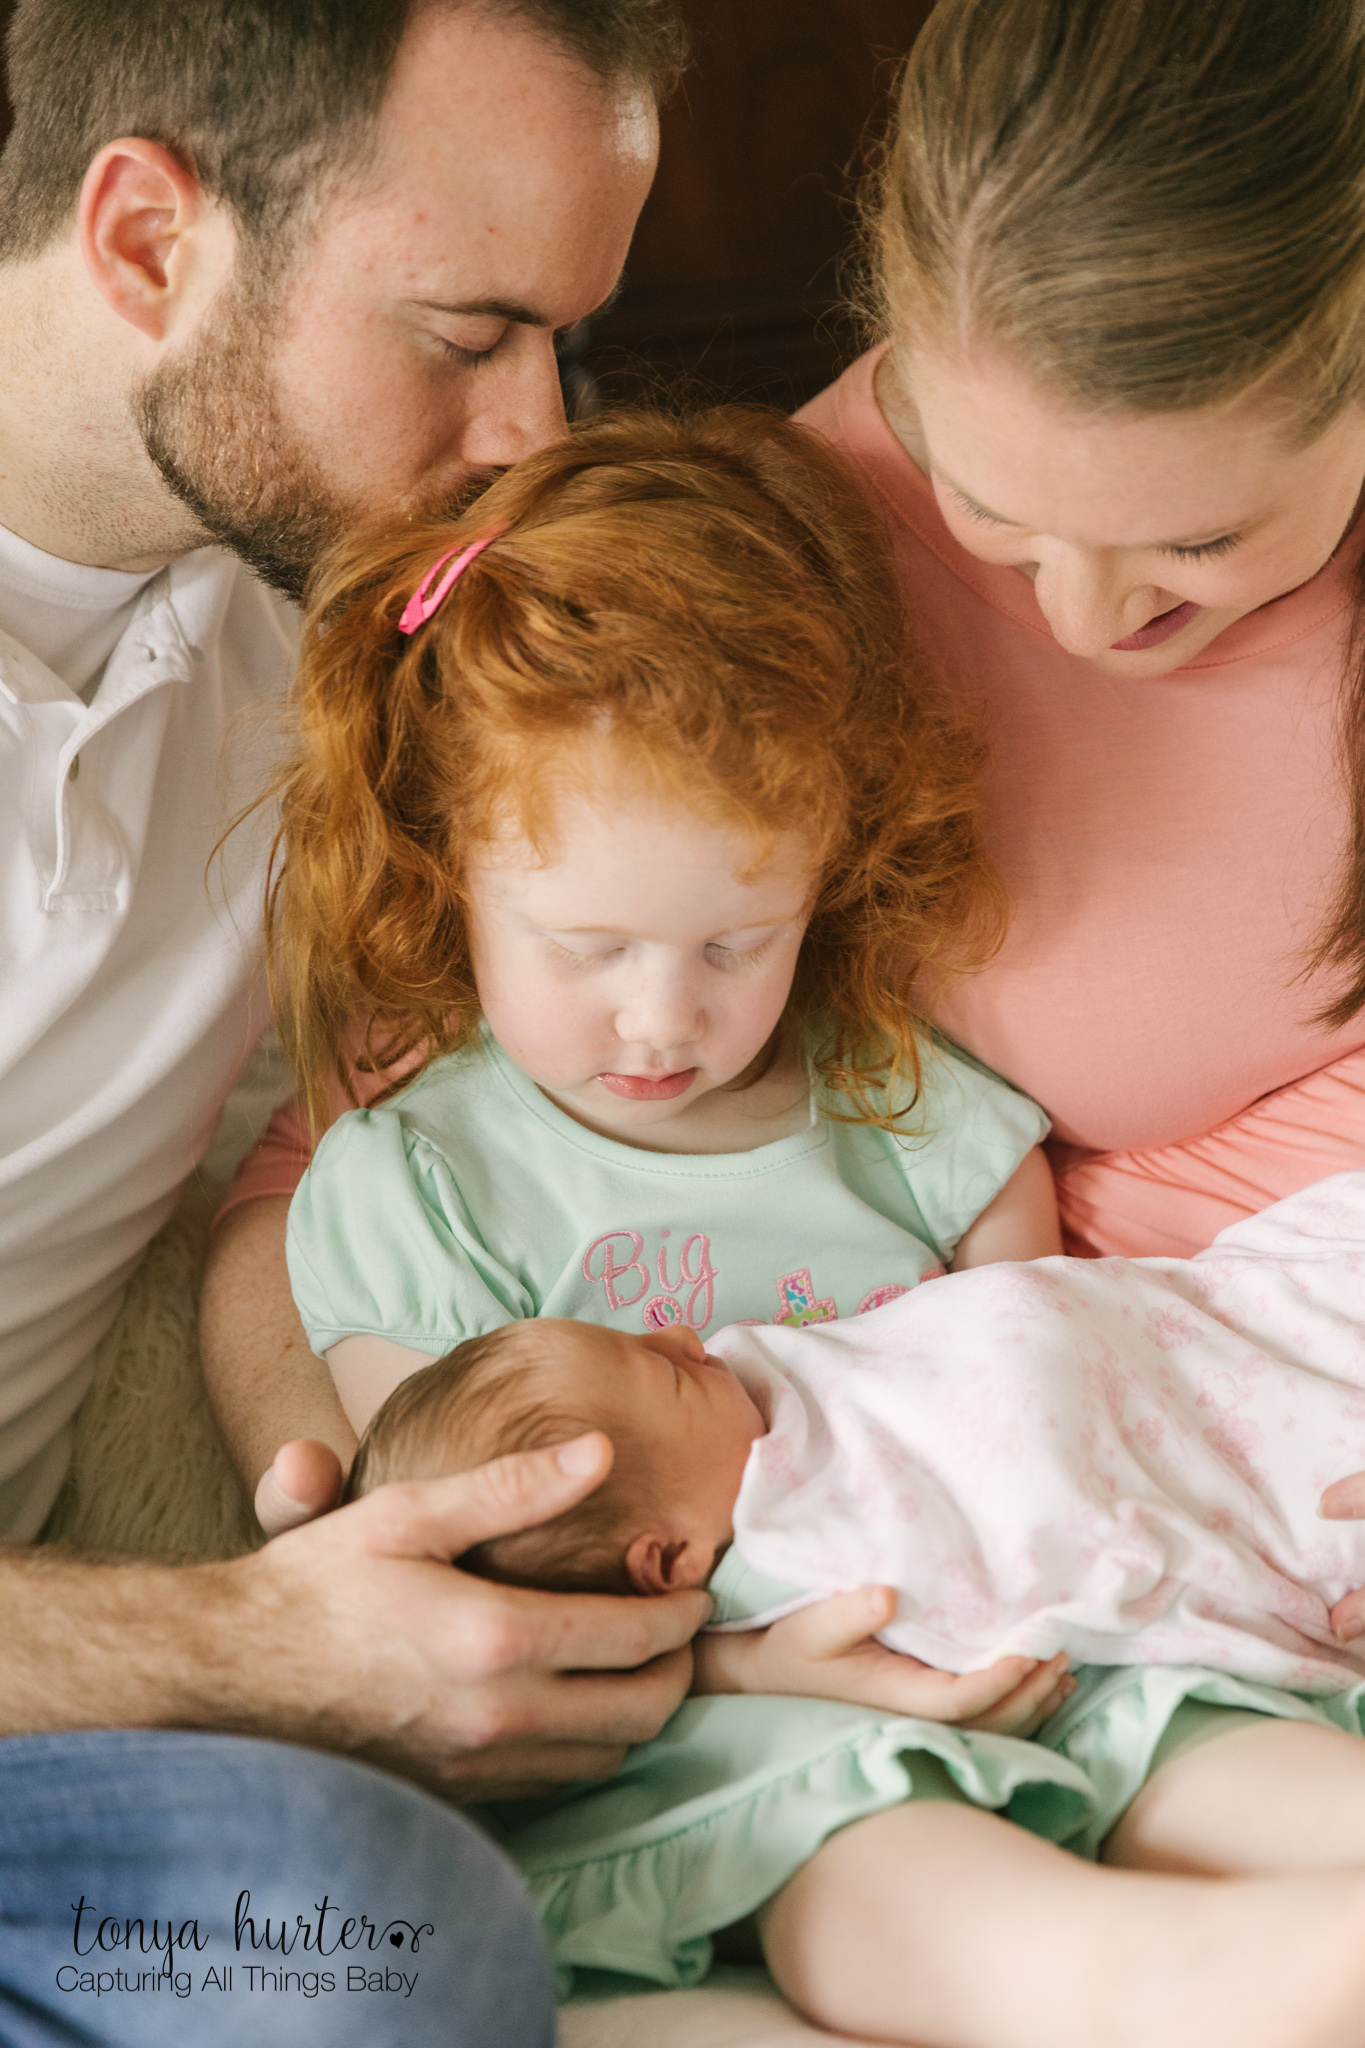
- Add siblings to the shot. They can be peeking over the bed to see them or snuggling with them on the couch or bed. For variety, encourage hugs, kisses, looking at baby, and looking at the camera. Remember that toddlers and preschoolers are unpredictable! Never do this unless you have someone right there making sure that they can control the situation. I’ve seen a lot of toddlers suddenly “let go.” Thankfully my spotters are always right there.

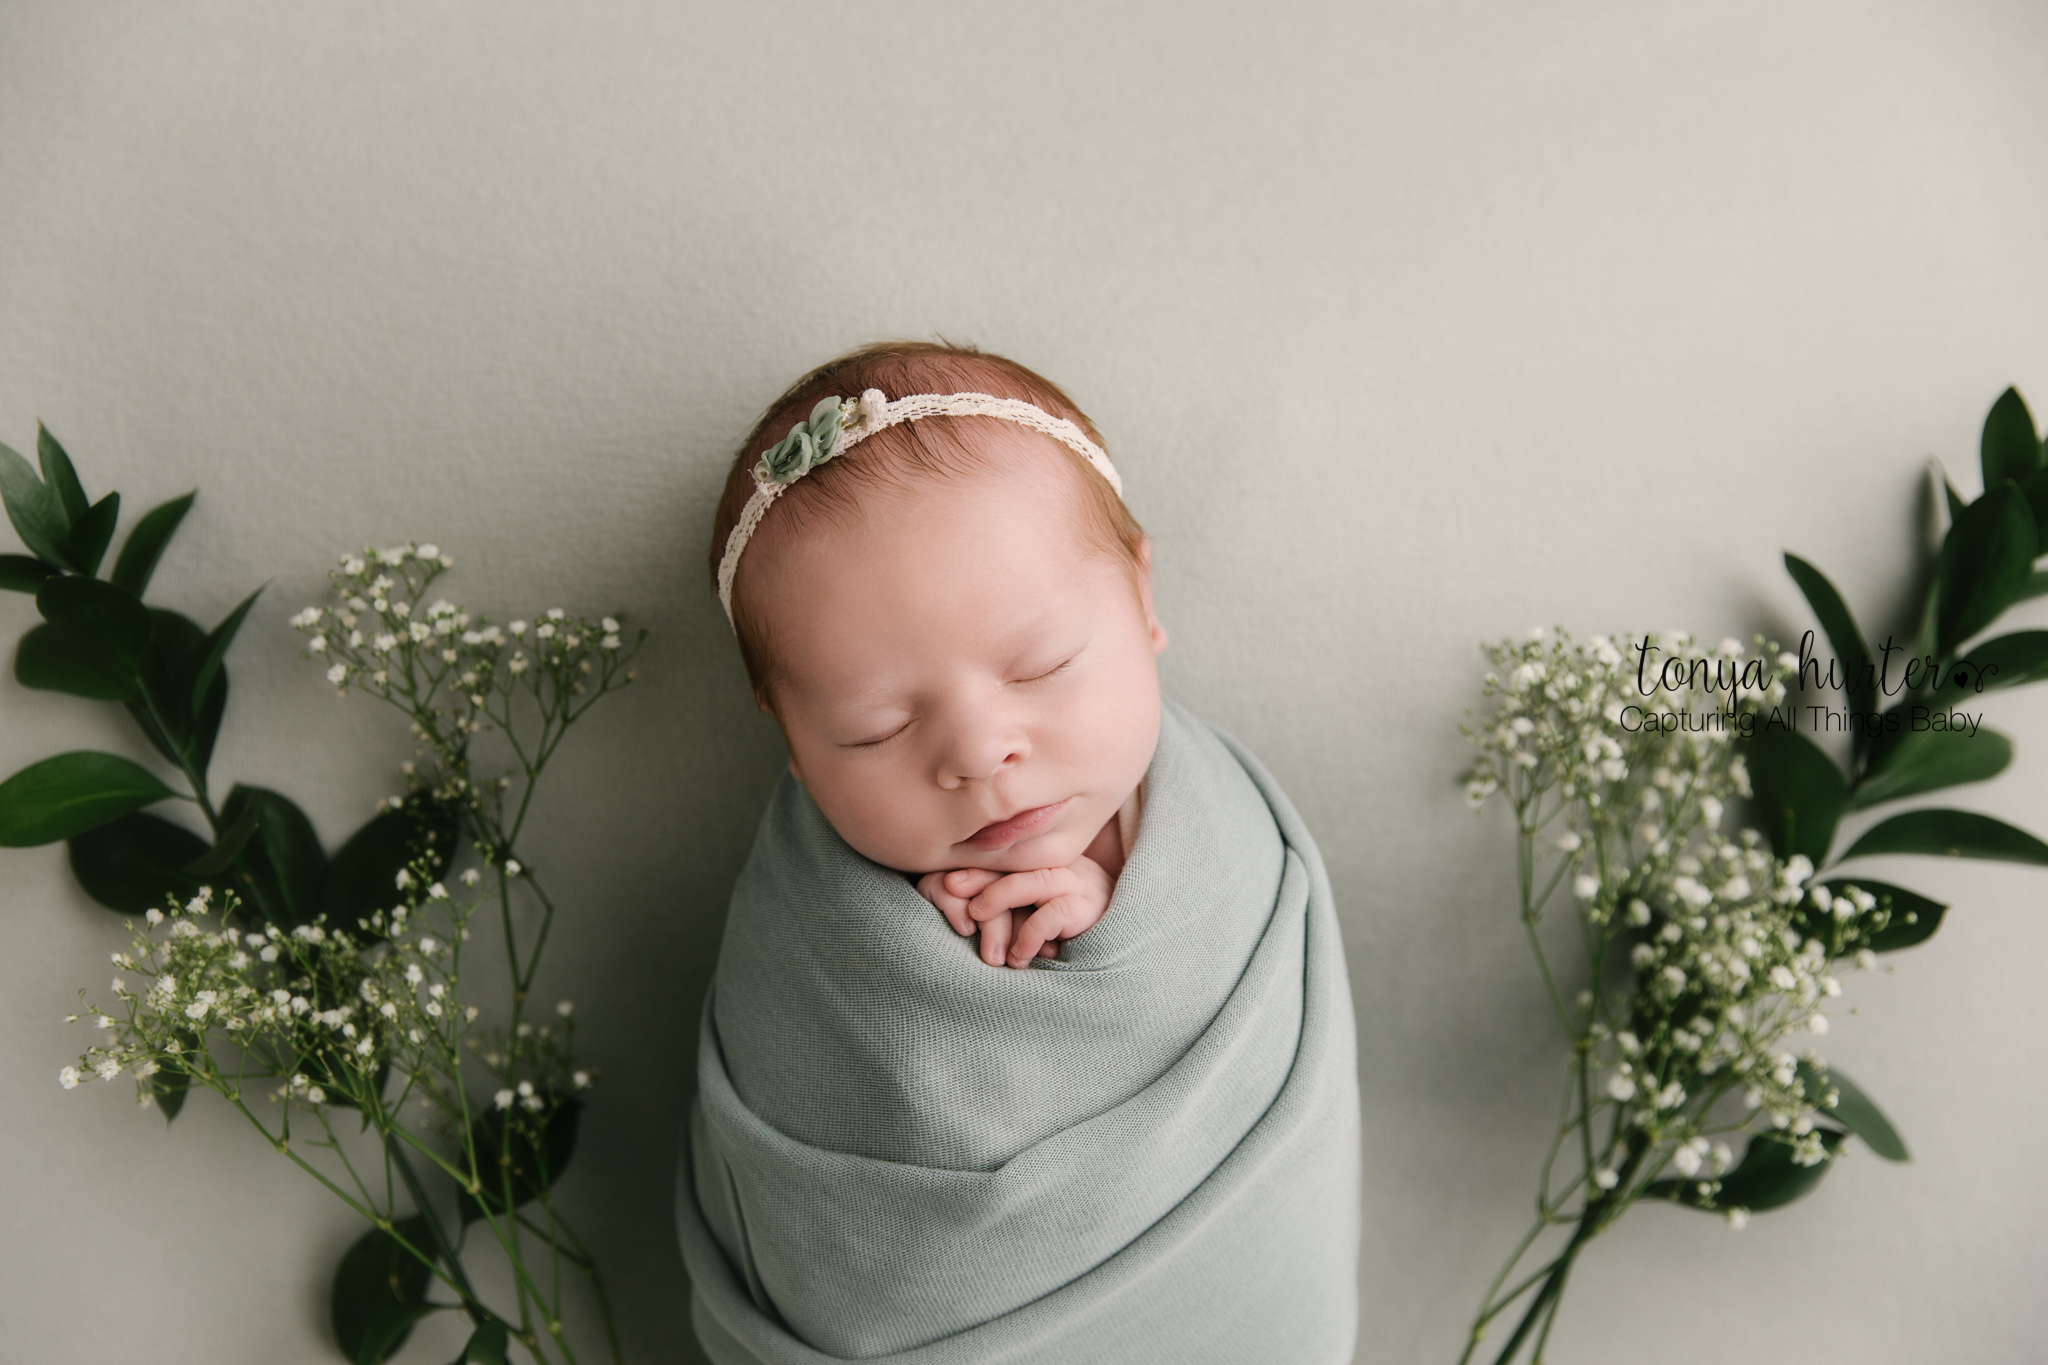
- Add some pretty greenery or flowers to surround baby swaddled on their backs.
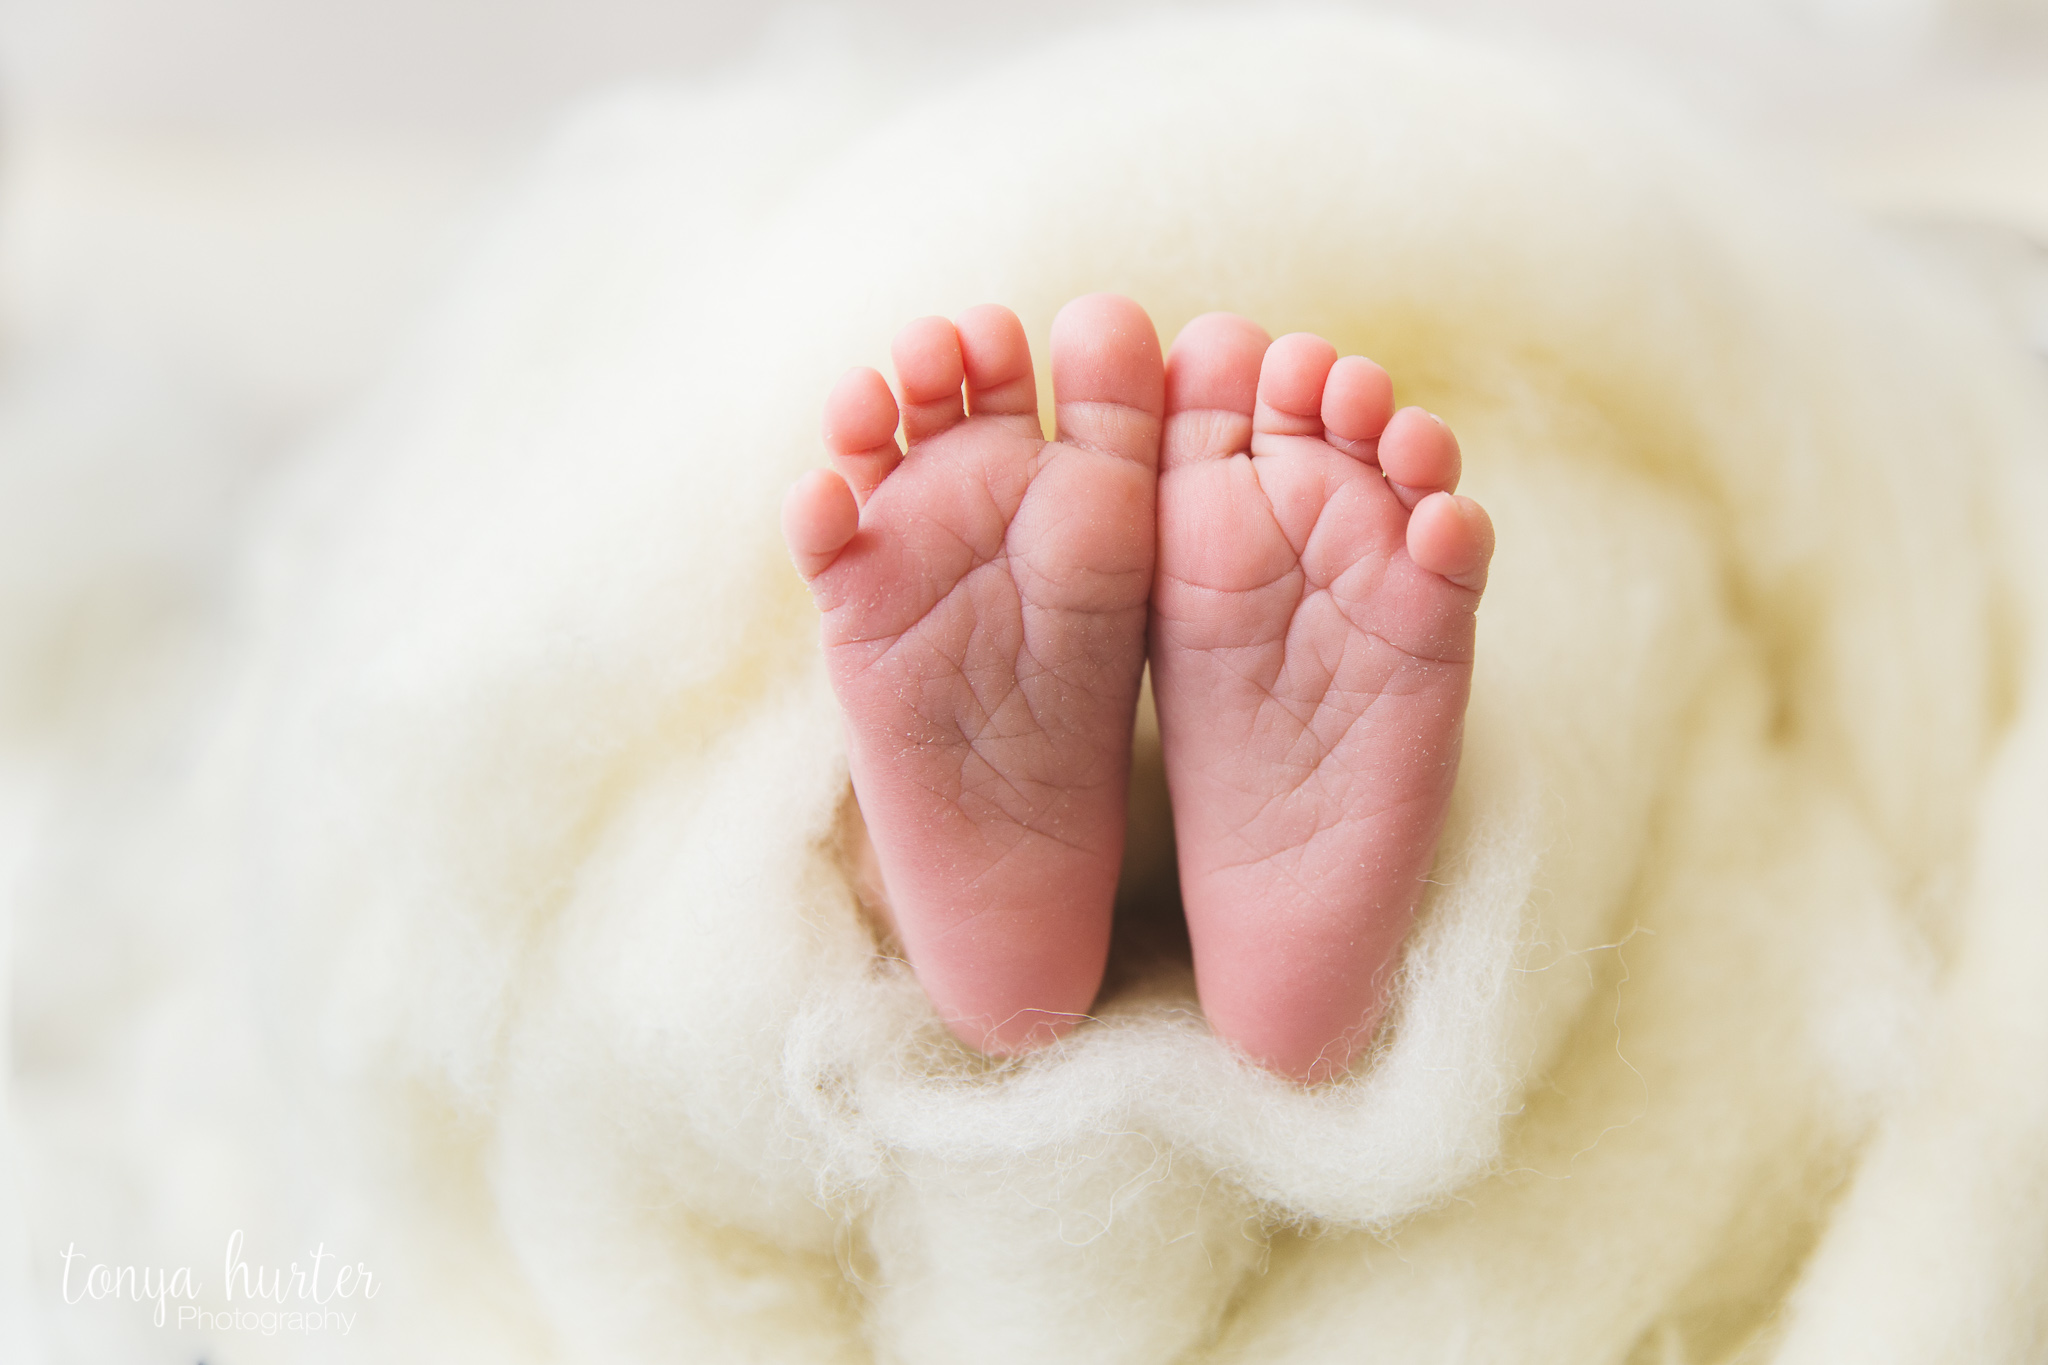
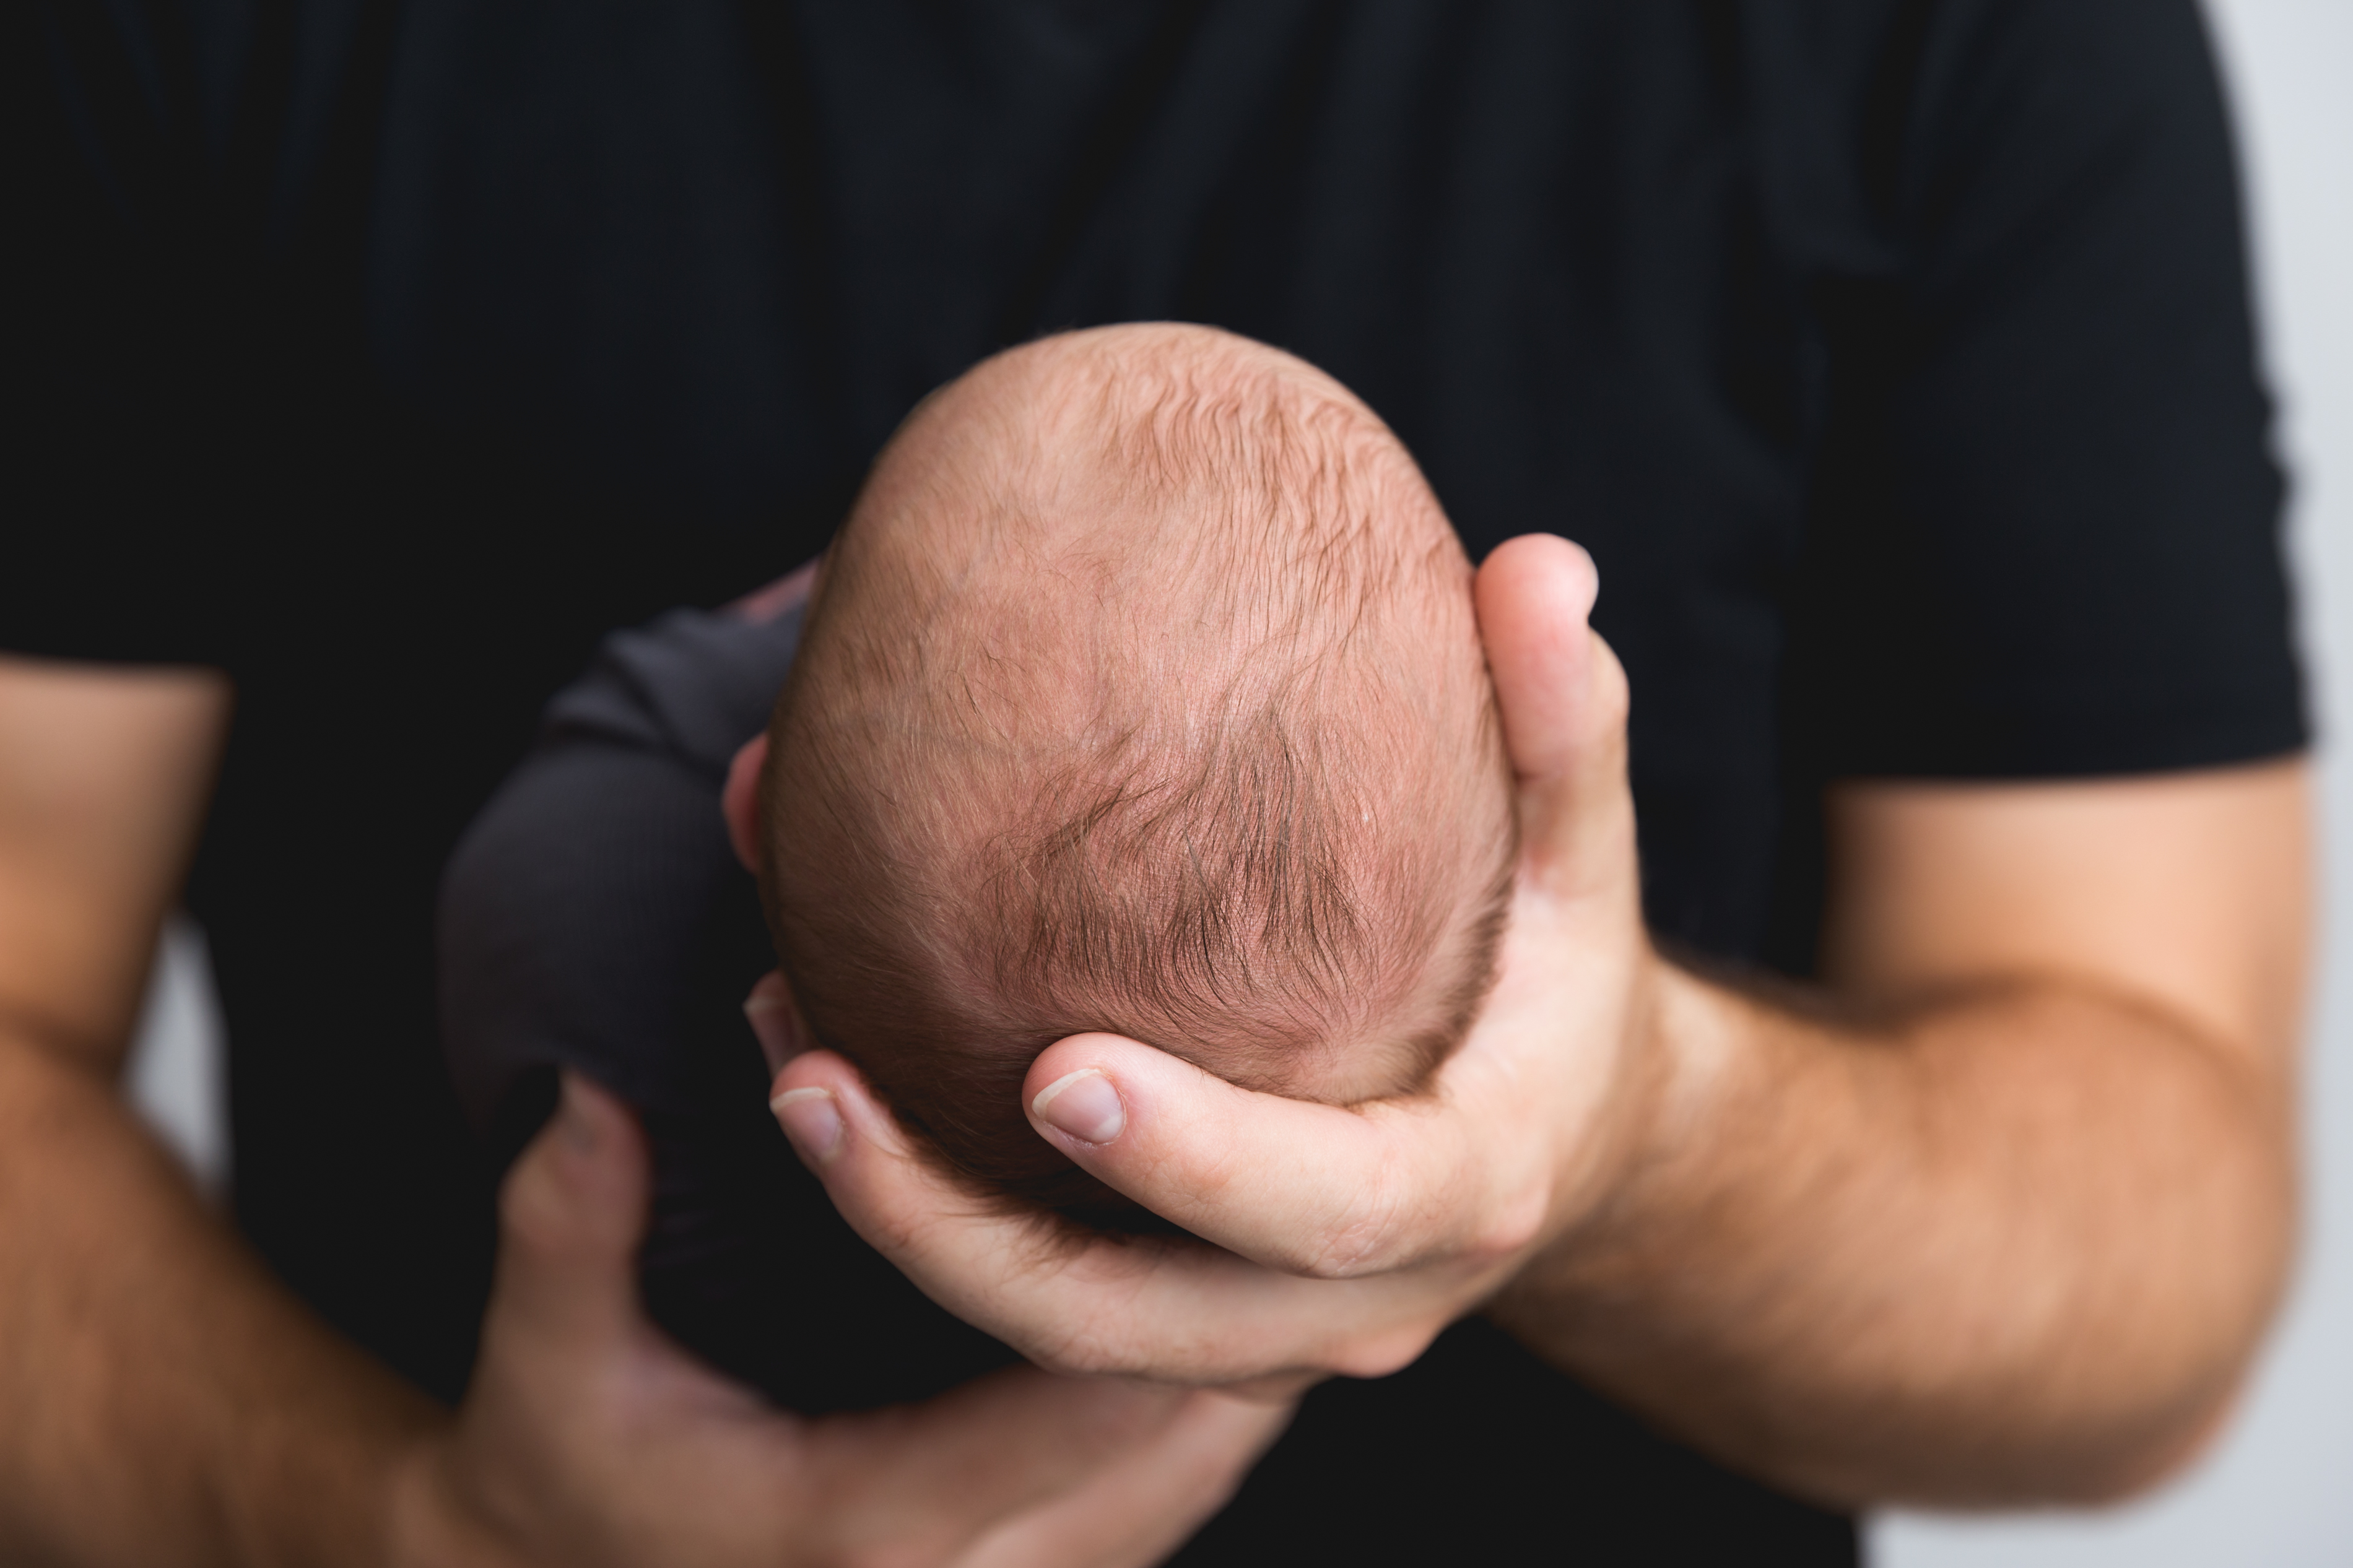
- Baby can lay in Daddy’s or Mommy’s hands. Capture close ups of the hands and baby. There is something so sweet about seeing how tiny they are in our hands.
Pretty Props
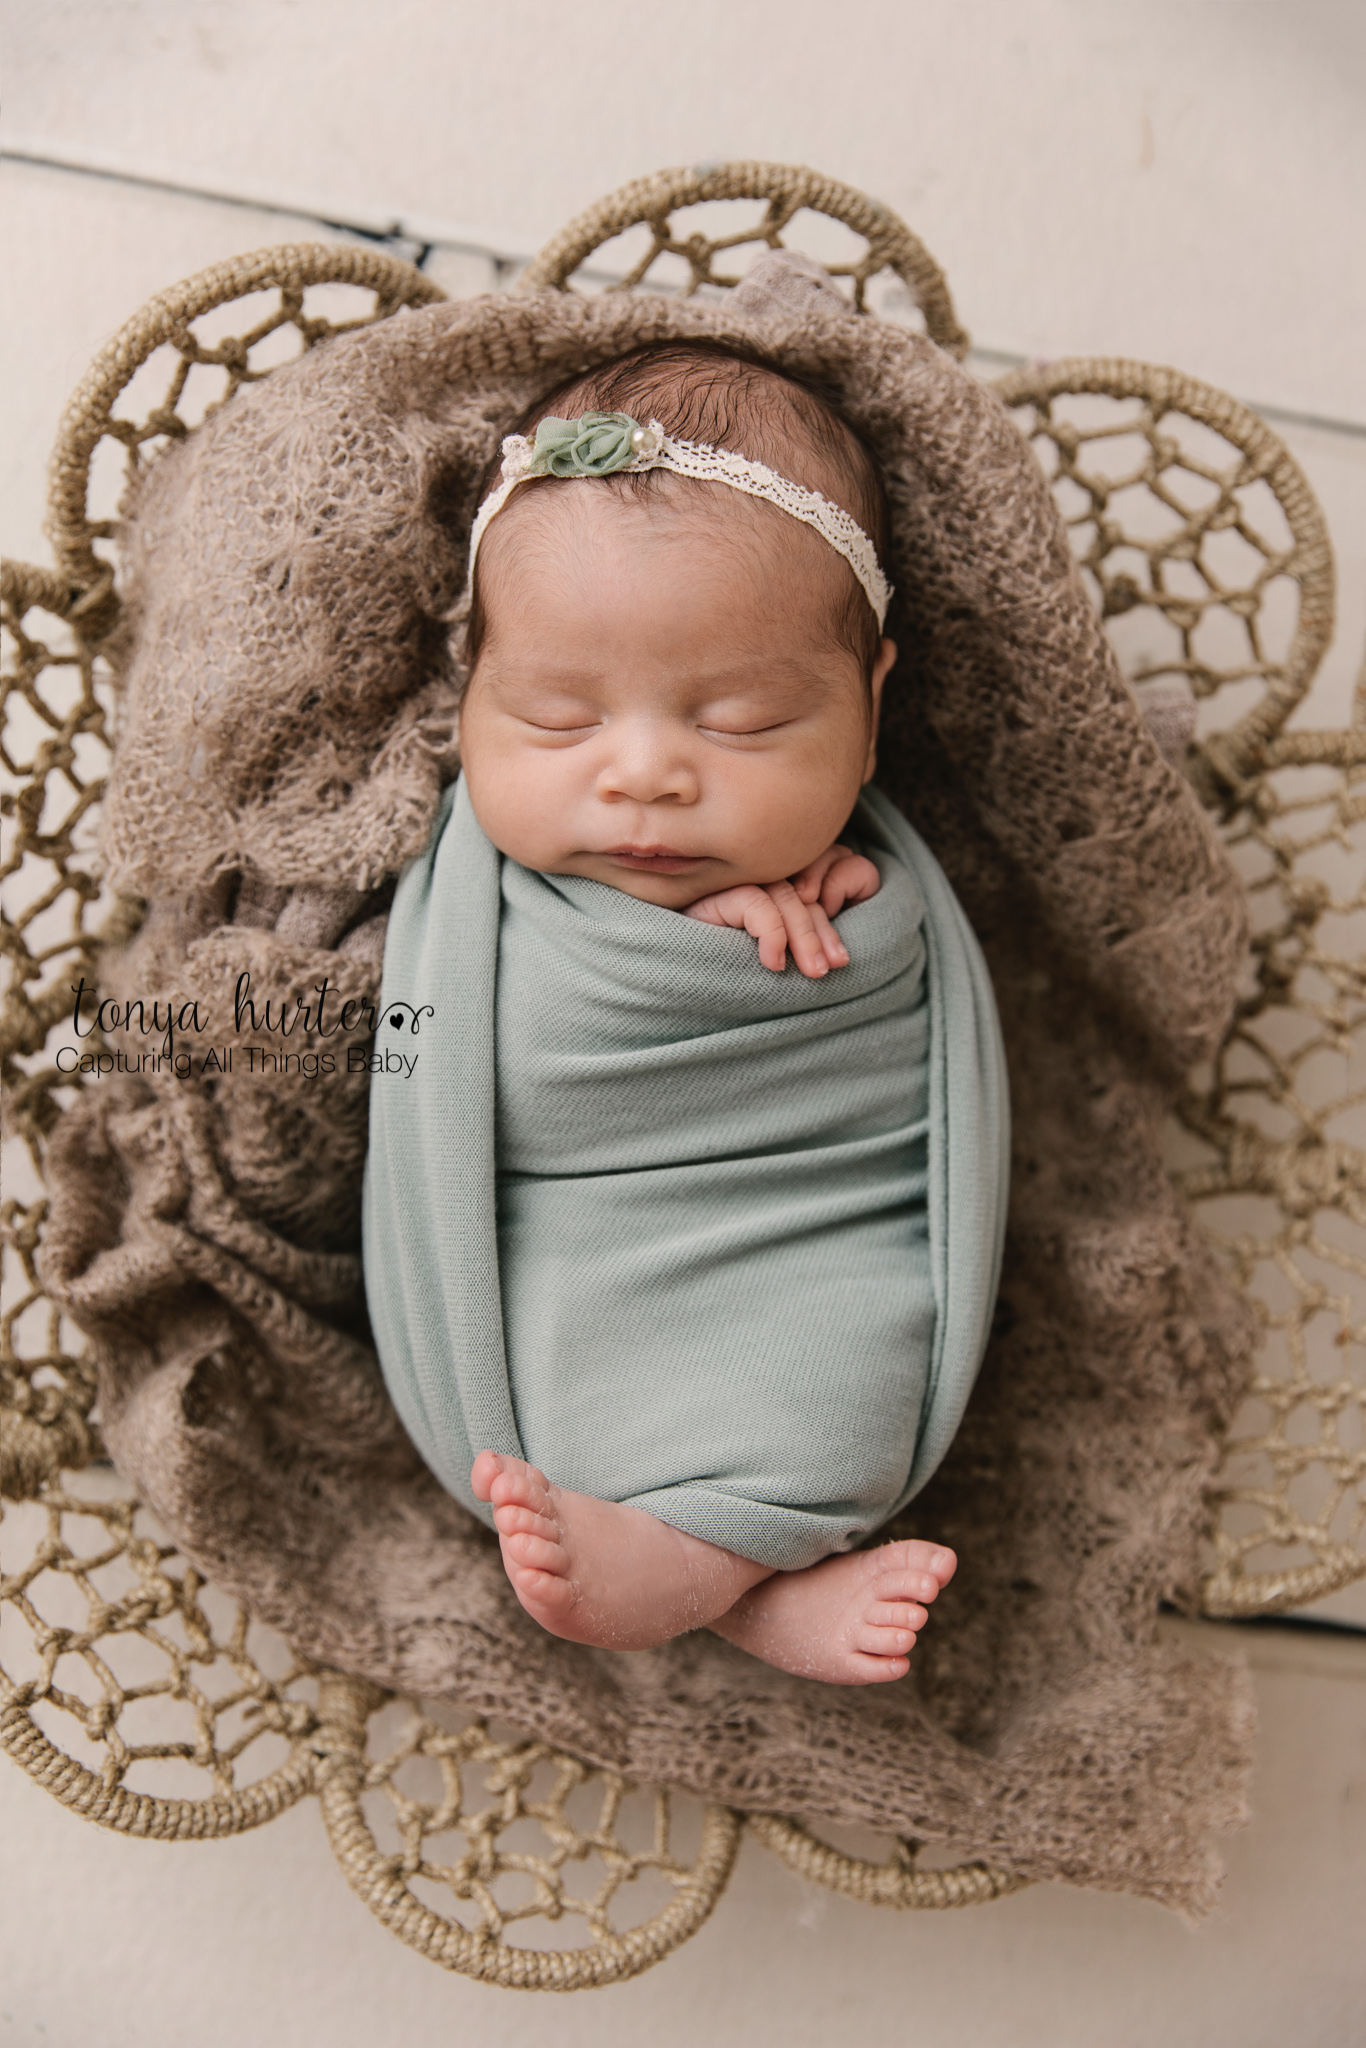
- Baby swaddled laying in a pretty basket is always fun. Make sure your basket has a flat bottom and cannot tip. If the basket is tipping at all then do not leave baby in that basket! This is a safe and beautiful way to capture baby. You can use a blanket, your wood floor, or a furry rug under for a pretty contract.
- NOTE – I strongly discourage you from trying to do any posing with baby where they are lying their heads on their arms over the edge. Newborn photographers do that and pay careful attention to important details – “baby laying head on the arms over a basket or bucket.” For example, if a whole limb is turning colors (not just a mottled hand which can happen in newborns easily) then that limb circulation is being cut off and that is dangerous! I don’t lay my baby’s heads on their arms. I place their cheek and chin gently on their hands with the weight of their heads resting back on the posing pillow instead of allowing the weight of their heads to lay on their arms and potentially cut off circulation. I’ve heard MANY stories of babies flipping out of baskets like that very easily because they weren’t weighted properly and they weren’t being spotted.
- NOTE – I strongly discourage you from trying to do any posing with baby where they are lying their heads on their arms over the edge. Newborn photographers do that and pay careful attention to important details – “baby laying head on the arms over a basket or bucket.” For example, if a whole limb is turning colors (not just a mottled hand which can happen in newborns easily) then that limb circulation is being cut off and that is dangerous! I don’t lay my baby’s heads on their arms. I place their cheek and chin gently on their hands with the weight of their heads resting back on the posing pillow instead of allowing the weight of their heads to lay on their arms and potentially cut off circulation. I’ve heard MANY stories of babies flipping out of baskets like that very easily because they weren’t weighted properly and they weren’t being spotted.
- In every thing you try, aim for the small details as well as the whole picture. I always take a horizontal shot, a vertical shot, a cropped shot of the baby’s face and shoulders and then little details like hands and feet and profiles!
About the light…
- What kind of light – light is everything for a photographer. Find some beautiful window light that is filtered. Not direct sunlight but a nice window with filtered light. I hang white sheers over my windows to soften the light.
- Angle of light – A great rule to follow is let the window be 45 to 90 degrees angled to your subject. If there is not enough light on the other side of the face (harsh shadows) then you can put a poster board on the other side to reflect soft light back into the unlit side of the face.
- Make sure the light sweeps down the face and not up the nose. Never, never take a picture with light shooting up people or babies noses. You want a nice little shadow to the side or bottom but no uplighting!
Don’t forget that safety always comes first – if you feel even a little uncomfortable – stop what you are doing because your precious baby comes first! I can teach you how to take newborn photos at home but don’t forget that the images from a newborn photographer are always worth the investment. Your memories and baby are worth the investment because they will last a lifetime!
For some inspiration and more images like these, check out this fun blog where big sister meets baby for the first time.
