Safety Tips for Newborn Posing…
Keeping my newborn clients safe is at the top of my priorities when I am taking photos of newborns. If you are a photographer reading this, your clients are depending on you to be safe. It’s your responsibility to pursue education and knowledge if you want to be a newborn photographer. I feel passionate about it and I want to share my safety tips for newborn posing in 5 part series.
Newborn photography is a specialty. There are certain poses that took me a year of studying with a mentor before I tried the pose. The froggy pose was one of those. In fact, my mentor had to kick me in the pants and say “Tonya, you are ready! Go for it!” Newborn photography is so rewarding and there is so much to learn. Even now, I’m still learning and I am in a year long school led by one of the top newborn photographers in the industry. Her name is Kristen Mackey and she is one of the best! I have recently renewed my CPR and First Aid for newborns. I am investing into my education and the investment is completely worth it!
Part 1 – Chin on arms in a client’s hands.
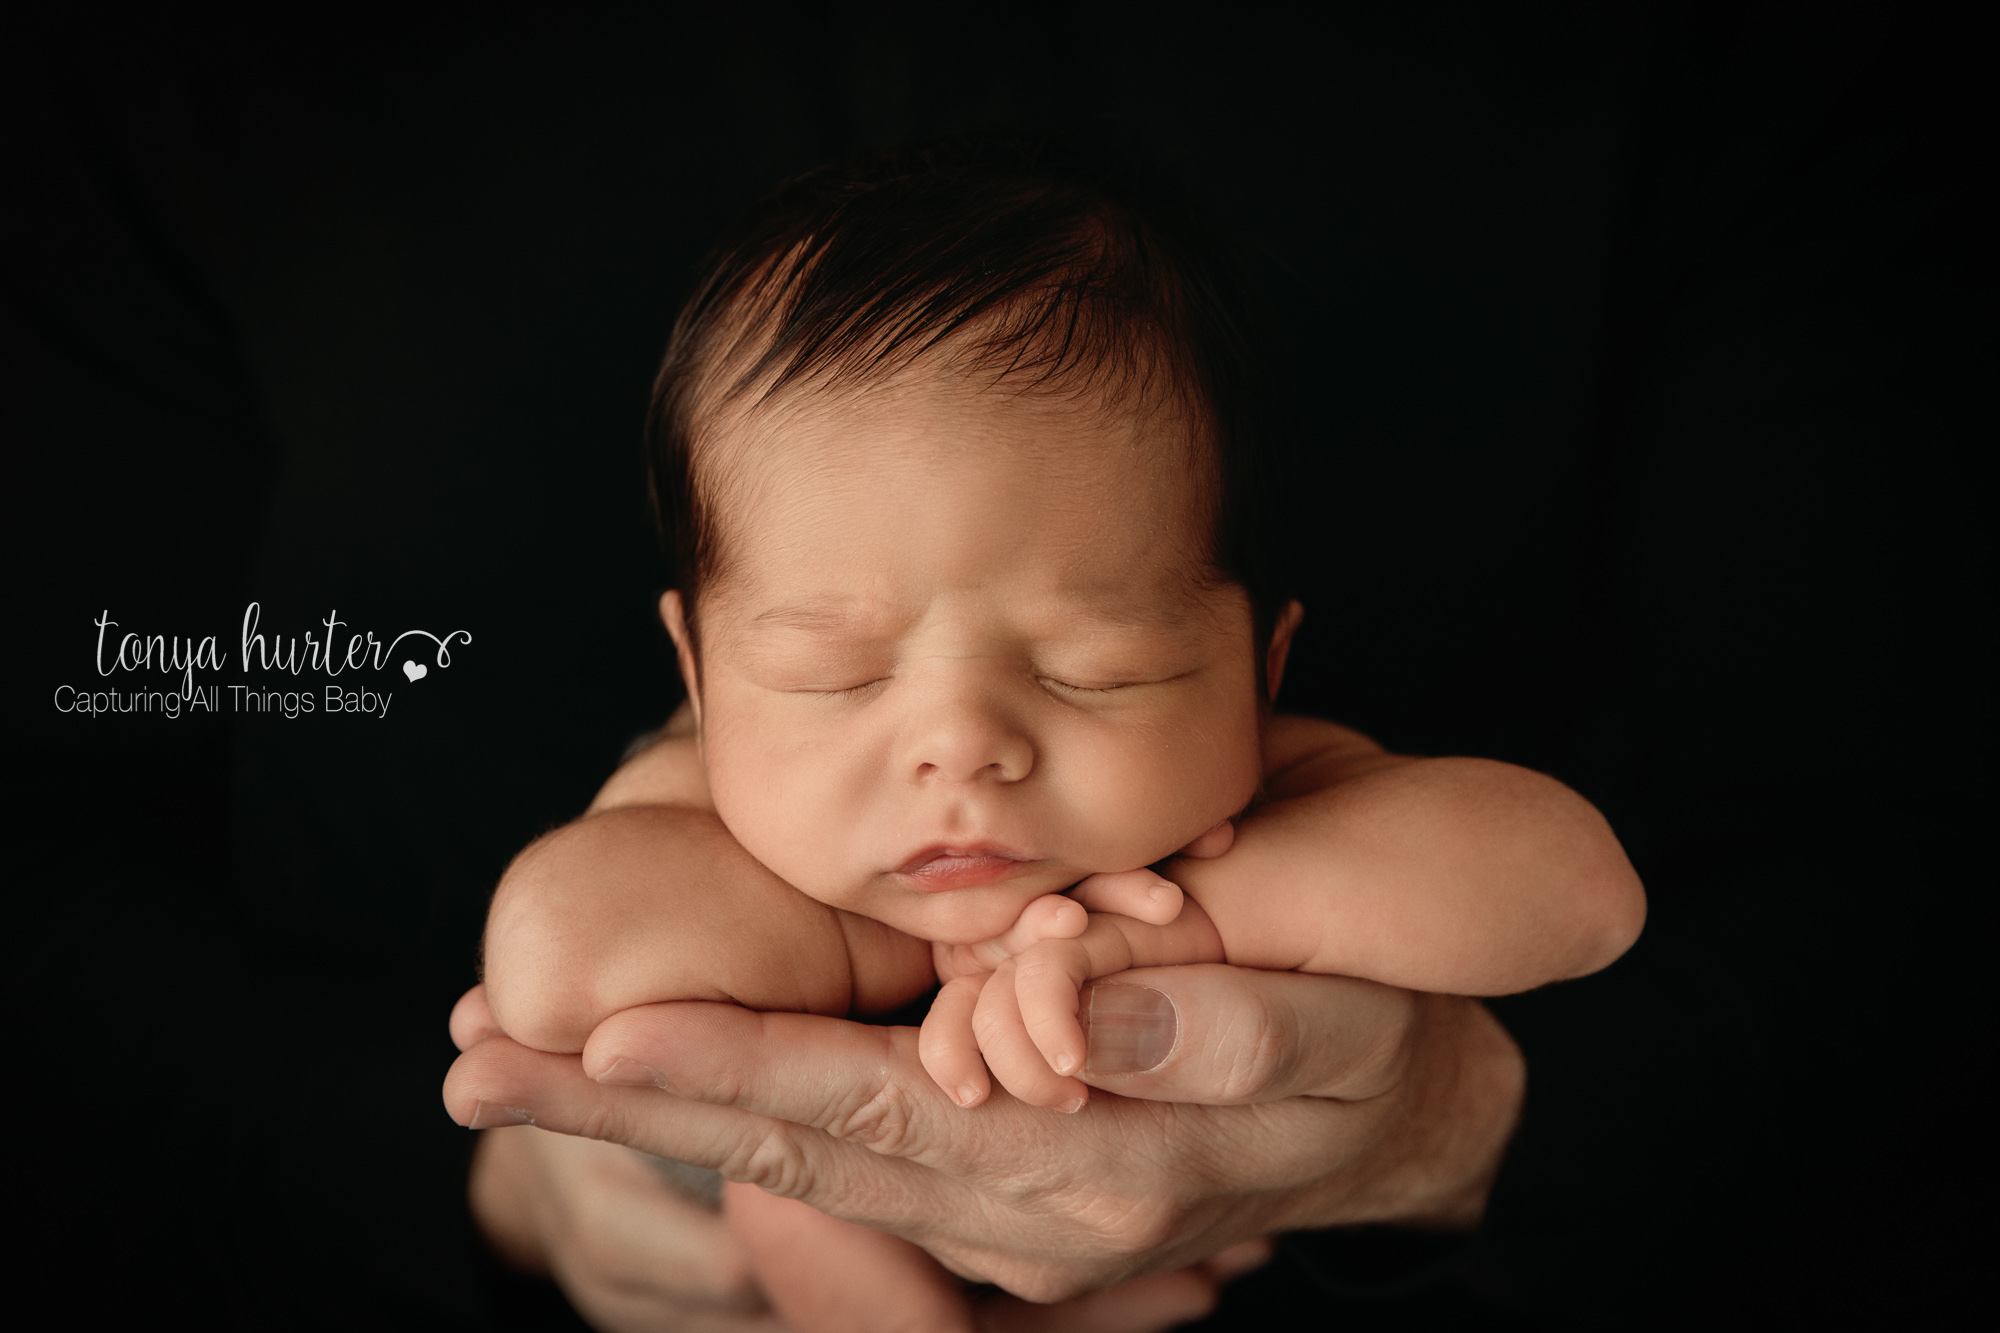
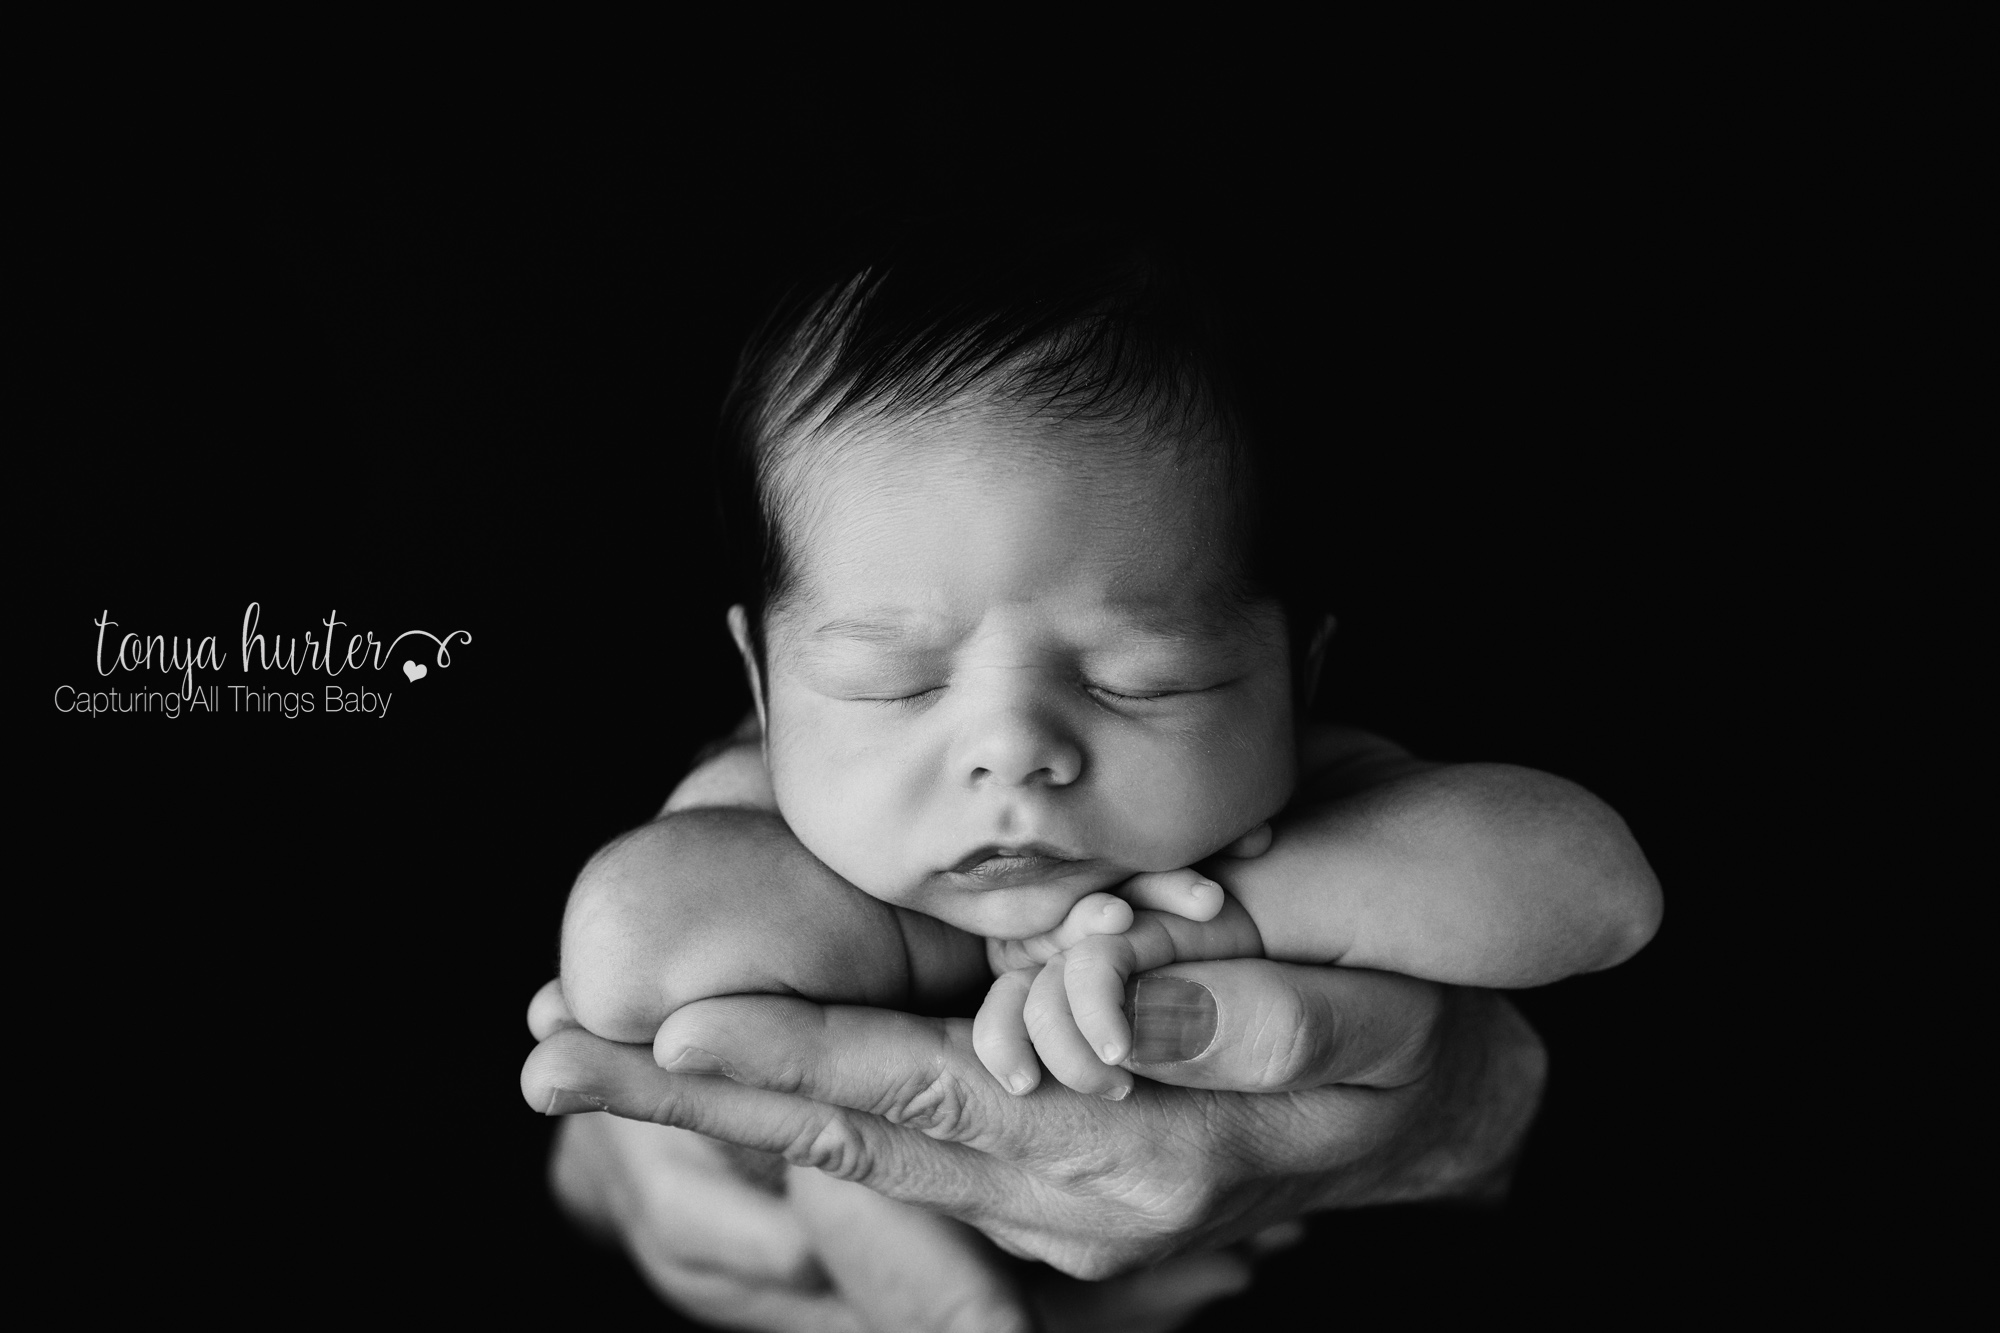
This is a beautiful image and actually easier to accomplish then it looks. I would recommend that if you haven’t learned how to do chin on arms on a posing area or in the bucket that you would pursue doing that BEFORE you try this in a parent’s hands. Here we go!
- This image is beautiful in black and white so I ask my clients to bring a black shirt for it. You could use black fabric but I find a black shirt to be easier.
- I have dad sit on a stool and make sure he feels strong enough to hold baby in this position for up to 10 minutes because you never know how a baby may need to be soothed once in their hands. I have had them sit on a chair also and use their laps to help hold their hands up but I like having them keep their hands and in the air also to make sure they are in the middle of the black shirt.
- Before I put baby in dad’s arms, I position the baby in the chin on arms pose. It is very important that baby is in a deep sleep. I would NOT try this position if they were only half asleep. Once baby feels settled, I’ll move them into dad’s hands. I put baby’s curled up legs into dad’s back hand and/or across his arm with his hand a bit more forward. Then I place dad’s other hand across to create a little shelf for baby to put his arms and chin on. This little guy wanted to curl his fingers around daddy’s fingers and it was pretty darn adorable so instead of adjusting the position, I left it.
- I have not let go of the baby’s body and head at all during the whole placement process. Before I let go of baby’s head and back, I will show mom where to put her hands. I am very specific with my directions so that mom feels confident in the process. Vague directions do not produce confidence. I want my spotter to feel confident.
What I say to my spotters…
“I am taking a test shot. Do not let go of baby.” I check the back of the camera and I make adjustments with the baby if it’s necessary. “Please remove your right hand and now put it back.”
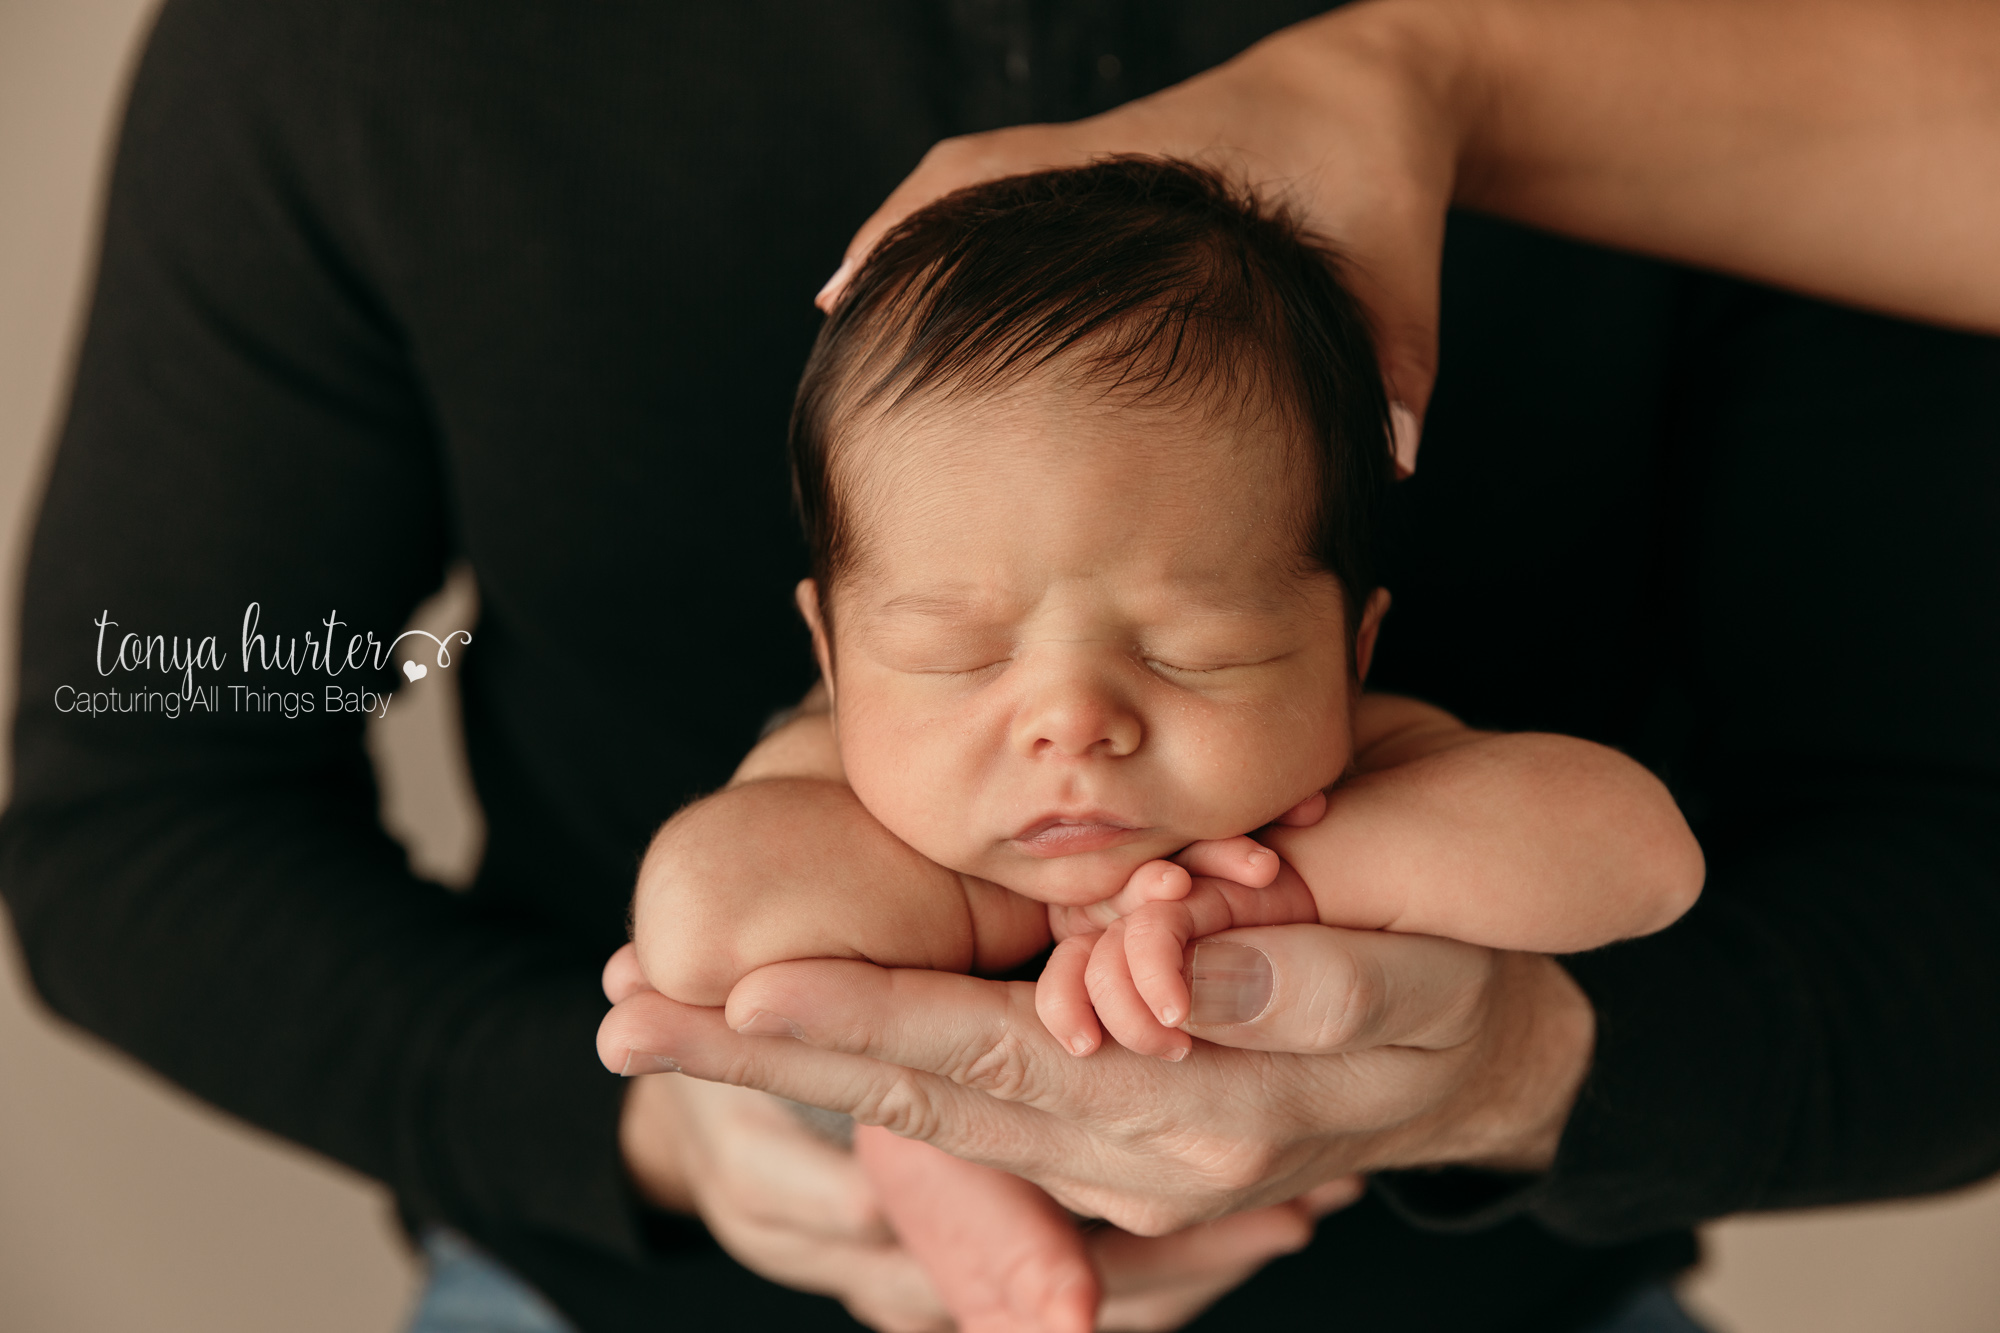 “Please remove your left hand and put it back.” I always check the back of my camera to make sure it’s sharp before I remove baby from dad’s hands. I also will always ask dad if he needs a break at some point. I want my clients to know that I care about their comfort and the baby’s comfort and safety.
 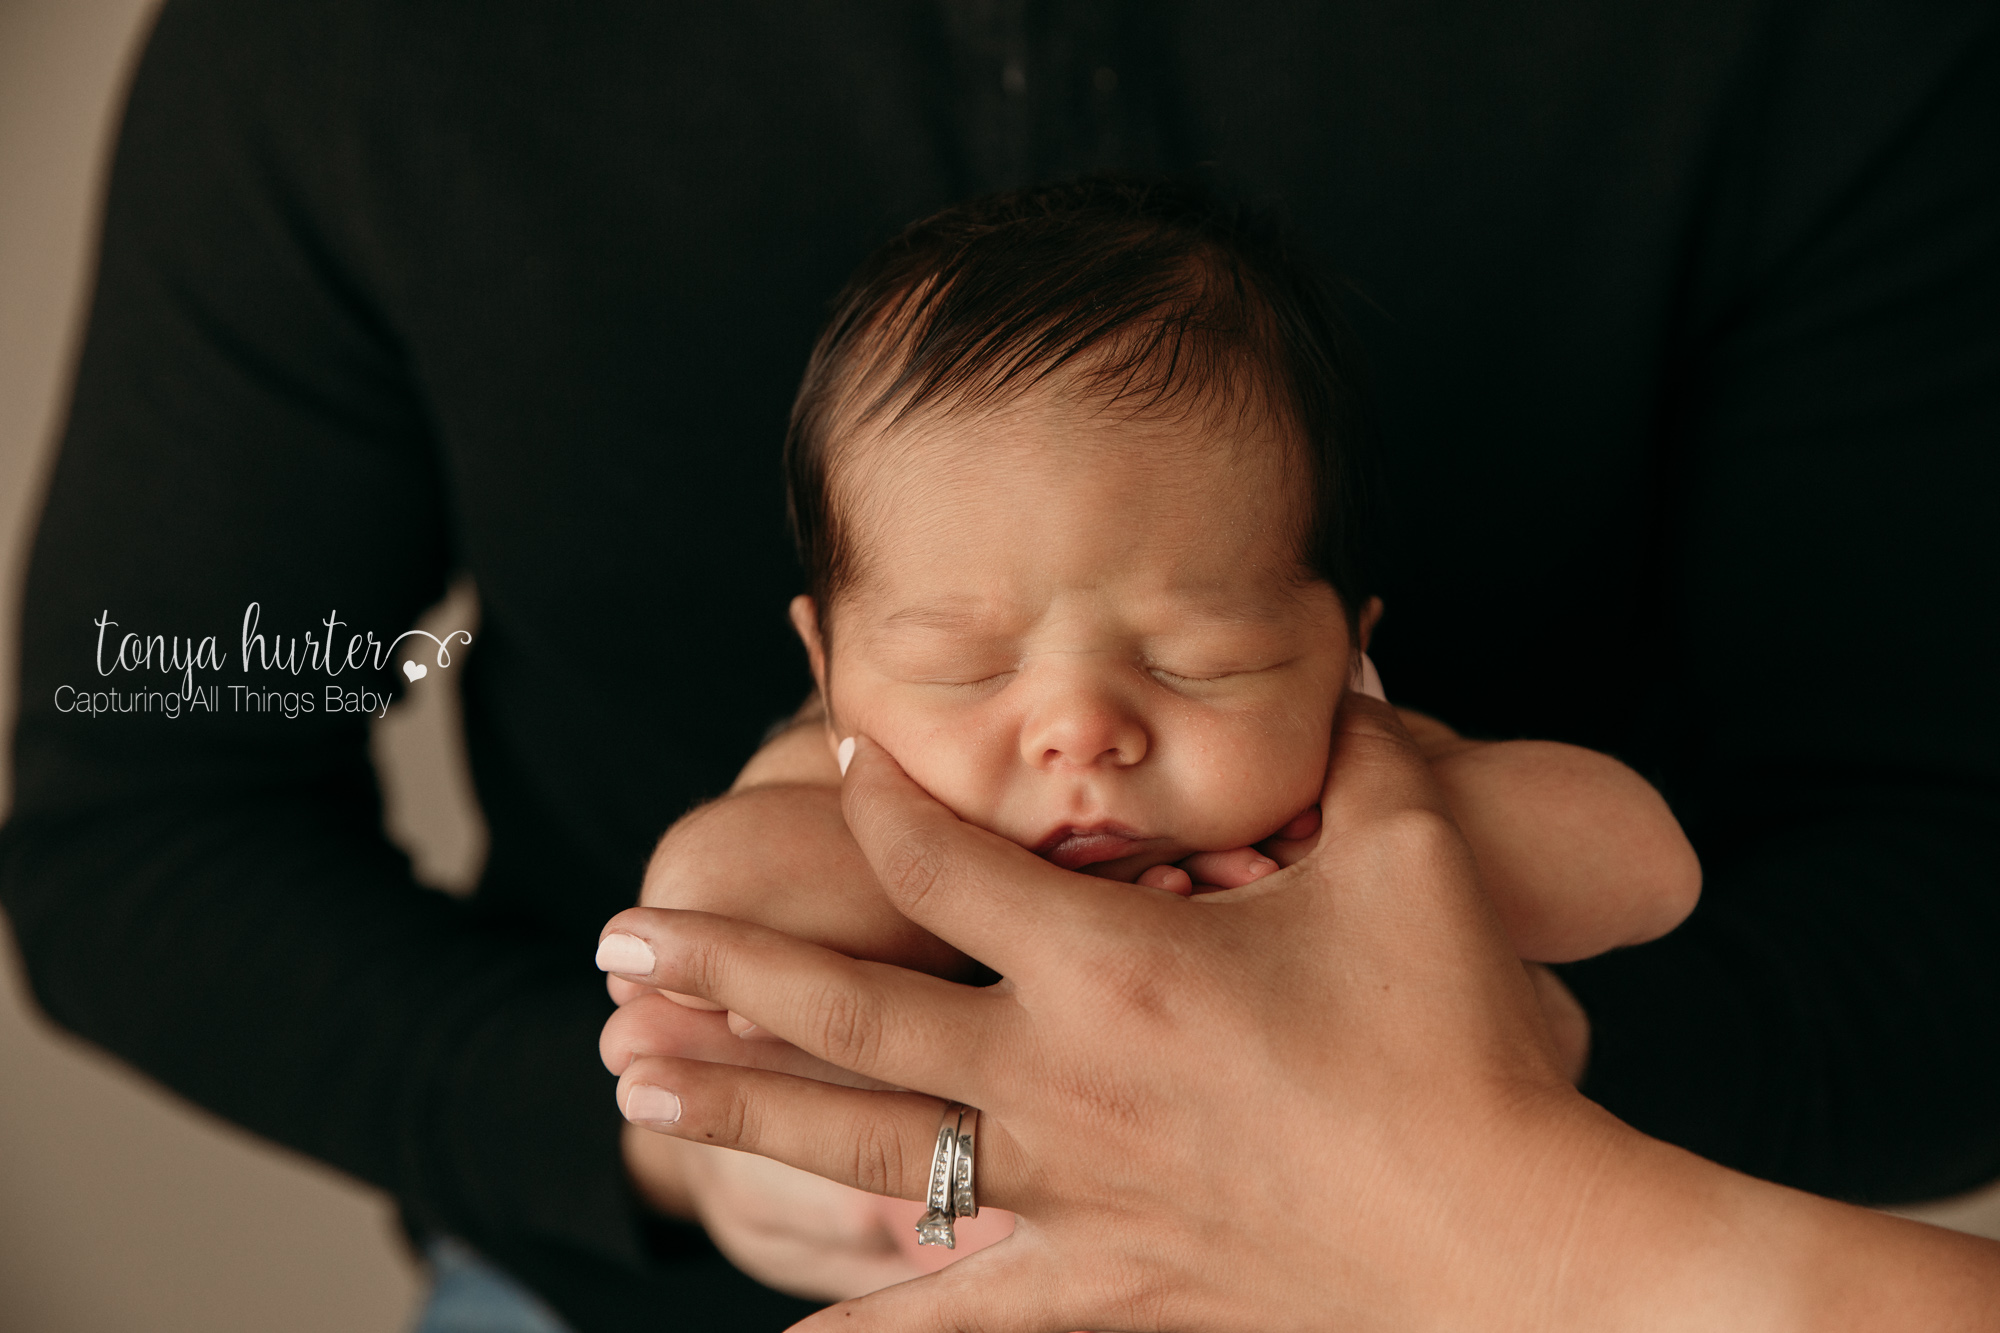 Finally, we are done! I take the two images and after I stitch them together in Photoshop, we have a beautiful black and white image of baby resting in Daddy’s hands. Black and white images on canvas with the deep black backgrounds are some of my favorite images to print.
I hope you enjoyed Part 1 of Safety Tips for Newborn Posing and Photography! If you love “How To” blogs, check out this blog on how to take newborn photos at home. Stay tuned for more safety tips for newborn posing!

